
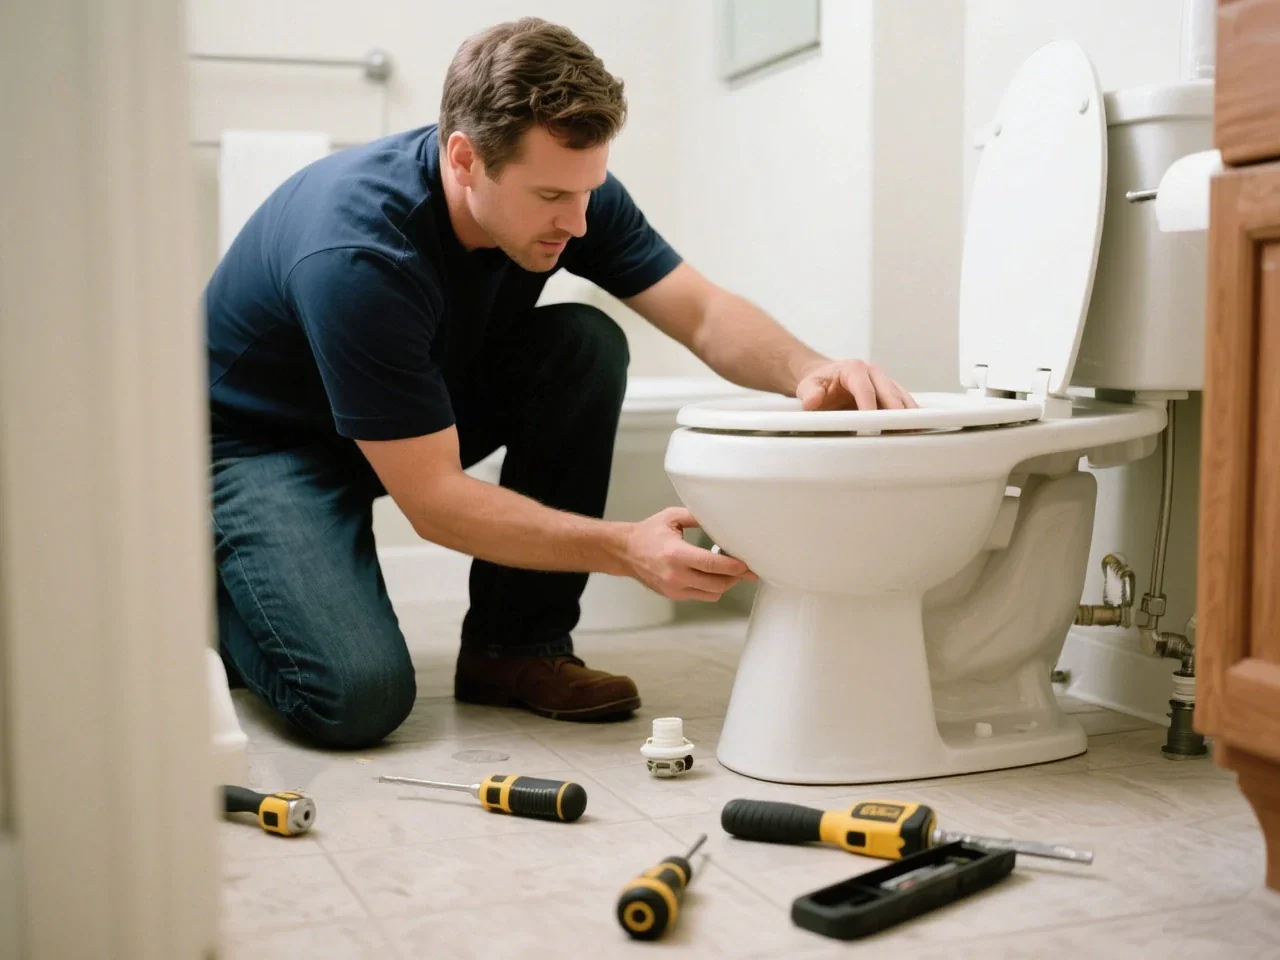

A malfunctioning toilet is one of the most frustrating household plumbing issues. While complex plumbing overhauls require professional assistance, the vast majority of toilet problems stem from simple mechanical components inside the tank or basic sealing failures. Understanding how these mechanical parts interact enables homeowners to diagnose problems quickly and complete effective repairs without calling a plumber.
Understanding How a Toilet Works
To troubleshoot a toilet effectively, it is helpful to understand the basic mechanics of a gravity-flush toilet system. When you press the flush handle, a trip lever inside the tank pulls a lift chain attached to a rubber flapper or flush valve seal. This action lifts the flapper off the flush valve opening at the bottom of the tank, allowing gallons of stored water to rush into the toilet bowl via the rim jets and siphon jet.
As the water enters the bowl, it creates a powerful siphon action that pulls waste and water down through the trapway and into the home drain line. Meanwhile, as the water level in the tank drops, the flapper settles back onto the flush valve opening to form a watertight seal. The fill valve then opens automatically as its float mechanism drops, refilling the tank with fresh water through a supply line while directing a small stream through a fill tube down the overflow pipe to replenish the standing water in the bowl. Once the float reaches its set height, the fill valve shuts off, completing the flush cycle.
Fixing a Continuously Running Toilet
A running toilet is the most common residential plumbing complaint. Beyond the irritating noise, a toilet that runs non-stop can waste hundreds of gallons of water daily and drive up utility bills significantly.
-
Worn or Damaged Flapper: Over time, chlorine and minerals in household water cause rubber flappers to warp, harden, or decompose. A deteriorated flapper fails to seal completely against the flush valve seat, allowing water to trickle constantly into the bowl. Replacing a degraded flapper takes under ten minutes and requires no special tools.
-
Incorrect Chain Length: If the lift chain connecting the flush handle lever to the flapper is too short, it holds the flapper slightly open, causing a persistent leak. If the chain is too long, it can get caught underneath the flapper, preventing a proper seal. Adjust the chain clip so there is roughly one-half inch of slack when the flapper is closed.
-
Water Level Set Too High: If the water level in the tank rises above the top of the overflow tube, water continually spills into the tube and down into the bowl. To fix this, adjust the float mechanism downward. On fill valves with float balls on brass arms, turn the adjustment screw clockwise or gently bend the arm downward. On modern fill valves with sliding floats, turn the adjustment screw counterclockwise to lower the float cutoff point.
-
Defective Fill Valve: If adjusting the float does not stop water from rising past the overflow pipe, the internal seal of the fill valve has failed. Replacing the fill valve assembly restores proper water shutoff control.
Resolving Weak, Incomplete, or Slow Flushes
A weak flush occurs when the siphon action in the bowl fails to clear waste completely. This issue usually stems from insufficient water volume or restricted flow pathways.
-
Low Tank Water Level: Check the water level inside the tank. The water line should sit approximately one-half inch below the top of the overflow pipe. If the level is too low, adjust the float to allow more water into the tank before the valve shuts off.
-
Clogged Rim Jets or Siphon Jet: Mineral deposits, hard water scale, and bacteria can clog the tiny jet holes located along the underside of the toilet bowl rim or the main siphon jet at the bottom of the bowl. Clean these ports using a small stiff wire or Allen wrench, followed by a thorough scrub with a mineral-dissolving bathroom cleaner.
-
Partial Line Clog: A partial obstruction in the trapway or main drain line reduces water velocity and prevents a strong siphon from forming. Use a heavy-duty toilet plunger or a toilet auger to clear stubborn buildup.
-
Excessive Flapper Slack: If the flush lever chain has too much slack, pressing the handle only lifts the flapper partially, causing it to drop shut before enough water leaves the tank. Shorten the chain by moving the hook closer to the trip lever arm.
Stopping Leaks Around the Base and Tank
Water leaking around the base of the toilet or dripping from the tank requires immediate attention to prevent floor damage, mold growth, and structural wood rot.
-
Leaking Base Wax Ring: If water leaks from the bottom of the toilet where the porcelain meets the bathroom floor during or after a flush, the wax ring seal has failed. This usually occurs when the toilet wobbles, breaking the airtight and watertight bond between the closet flange and the horn. To fix this, remove the toilet, scrape away the old wax, inspect the closet flange for damage, install a new heavy-duty wax ring or rubber foam gasket, and re-bolt the toilet firmly to the floor.
-
Loose or Worn Tank-to-Bowl Bolts: On two-piece toilets, rubber washers seal the bolts holding the tank to the bowl. Over time, these washers degrade, resulting in slow drips beneath the tank. Shut off the water supply, drain the tank completely, and replace the tank-to-bowl bolts and rubber gaskets.
-
Cracked Porcelain: Carefully inspect the tank and bowl for hairline cracks. If a crack extends below the water line on either the tank or the bowl, the component cannot be reliably repaired and must be replaced entirely to avoid catastrophic flooding.
Clearing Persistent Toilet Clogs Properly
Clearing a stubborn blockage requires the right technique to avoid splashing or damaging the porcelain.
-
Plunging Technique: Always use a flange plunger rather than a standard cup plunger. A flange plunger features an extended rubber sleeve that fits snugly inside the drain opening at the bottom of the bowl. Ensure the plunger cup is submerged in water, seal the flange against the drain opening, and apply firm, steady up-and-down thrusts rather than quick violent pushes.
-
Using a Toilet Auger: When a plunger fails, use a closet auger or toilet snake. Insert the rubber-sleeved end into the drain opening to protect the porcelain finish, then rotate the crank handle while gently feeding the flexible cable into the trapway. The auger either breaks up the obstruction or hooks onto foreign objects like wipes, toys, or hygiene products so they can be pulled out safely.
Step-by-Step Guide to Replacing a Flush Valve Assembly
When a toilet tank leaks continuously despite a new flapper, or the flush valve seat itself is cracked, replacing the entire flush valve assembly becomes necessary.
-
Shut Off Water and Drain the Tank: Turn the shutoff valve clockwise until tight. Flush the toilet and hold the handle down to empty as much water as possible. Use a sponge or towel to soak up remaining water at the bottom of the tank.
-
Disconnect the Water Supply and Remove the Tank: Disconnect the water supply line from the base of the fill valve using channel-lock pliers. Unbolt the two tank-to-bowl bolts located underneath the tank using a screwdriver and socket wrench. Carefully lift the tank off the bowl and set it flat on a padded surface.
-
Remove the Old Flush Valve: Unscrew the large spud nut located on the underside of the tank exterior that secures the flush valve body. Slide out the old valve assembly along with its rubber washer.
-
Install the New Flush Valve: Insert the new flush valve assembly into the tank opening with the overflow pipe oriented toward the fill valve. Secure it firmly from underneath using the provided locknut. Place the new foam tank-to-bowl gasket over the exposed threads on the bottom exterior of the tank.
-
Reattach the Tank and Test: Carefully set the tank back onto the bowl, aligning the bolt holes. Insert new bolts with rubber washers, tightening them evenly on both sides until secure. Reconnect the supply line, turn on the water valve, let the tank fill, and test for leaks with several trial flushes.
Frequently Asked Questions
Why does my toilet make a loud whistling or whining noise after flushing?
A loud whistling sound while the tank fills is usually caused by a deteriorating fill valve diaphragm or restricted water flow through the shutoff valve. Over time, rubber seals inside older ballcock valves or fill valve caps harden and vibrate as water forces its way through narrow openings under pressure. Cleaning mineral debris out of the fill valve cap assembly or replacing the fill valve entirely eliminates the whistling noise.
Can chemically treated drop-in tablet cleaners damage internal toilet tank parts?
Yes, bleach-based or blue chemical drop-in tablets left sitting in the tank can significantly shorten the lifespan of internal rubber and plastic components. Because these tablets sit continuously in stagnant water when the toilet is not in use, high concentrations of strong chemicals erode rubber flappers, fill valve seals, and tank-to-bowl washers. Using bowl-hanging cleaners or liquid cleaners applied directly to the bowl surface prevents premature component deterioration.
How do I know if my toilet bowl or tank has an invisible hairline crack leaking water?
An invisible hairline leak can be detected by adding ten to fifteen drops of food coloring into the tank water when the toilet is not in use. Do not flush the toilet. Wait twenty to thirty minutes and inspect the bowl water. If colored water appears in the bowl without flushing, water is leaking through the flush valve or a hairline crack in the tank divider. To check for exterior hairline leaks, place dry paper towels on the floor beneath the tank and around the base, then check periodically for dampness.
What causes a toilet to flush by itself every few hours without anyone touching the handle?
This phenomenon, often referred to as ghost flushing, occurs when water slowly leaks out of the tank and into the bowl until the water level drops low enough to trigger the fill valve float to reopen and refill the tank. Ghost flushing is almost always caused by a warped, worn, or dirty flapper that fails to create an airtight seal against the flush valve seat, or an improperly fitted refill tube pushed too deep into the overflow pipe.
What is the difference between a three-inch flush valve and a standard two-inch flush valve?
Standard traditional toilets utilize a two-inch flush valve opening, whereas many modern high-efficiency toilets feature a three-inch or four-inch flush valve. The larger diameter valve allows water to exit the tank at a much faster rate during the flush, generating a more forceful siphon in the bowl while using less overall water volume. When buying replacement parts, measure the diameter of your flush valve opening to ensure component compatibility.
Should I use a rubber gasket or a wax ring when replacing my toilet onto a newly tiled floor?
Either a traditional wax ring or a modern wax-free rubber gasket can work effectively. Wax rings create a time-tested, reliable seal, but they can only be set once and must be replaced if the toilet is repositioned. Rubber wax-free gaskets are reusable, cleaner to install, and better suited for situations where tile installation has left the floor flange recessed slightly below the finished floor level, as rubber gaskets can compress and expand without losing their seal.
How often should internal toilet tank components be replaced as part of preventative maintenance?
Internal tank hardware like rubber flappers, fill valves, and supply lines typically last between five and seven years under normal household water conditions. In homes with hard water, high mineral content, or municipal water treated with heavy chlorine, rubber parts may degrade closer to three to five years. Replacing the flapper and fill valve proactively at the first sign of wear or slow filling prevents unexpected leaks and water waste.

Comments are closed.